How to Pack a Kitchen for Moving: The Complete Room-by-Room Guide
Step-by-step guide to packing your kitchen for a move. Covers dishes, glasses, appliances, and pantry items with techniques that actually prevent breakage.
Key Takeaways
- The kitchen takes longer than any other room. Budget 4 to 6 hours for a fully stocked kitchen.
- Declutter before you pack. Tossing expired food and duplicate gadgets can cut your tote count by 20%.
- Stand plates on edge, not flat. They're stronger that way and less likely to crack from top pressure.
- Pack heavy items in smaller containers. A large box stuffed with canned goods is a back injury waiting to happen.
- Keep one plate, one bowl, one mug, and one set of utensils out until moving morning. You'll need coffee.
Ask anyone who's moved before which room they hated packing most. The answer is always the kitchen. The average kitchen holds 200 to 300 individual items, from fragile wine glasses to that bread maker you used exactly once. Without a plan, packing it can swallow an entire day.
Here's the room-by-room method that cuts that time roughly in half.
Should you declutter the kitchen before packing?
Yes, always declutter before packing. Tossing expired food, donating duplicates, and recycling unused gadgets can cut your container count by 20 percent.
Yes. Absolutely yes. Packing a kitchen you haven't sorted through is wasted effort.
Before you touch a single roll of packing paper, go through every cabinet, drawer, and pantry shelf:
- Toss expired food. Check spices (most go bad after 1 to 3 years), canned goods, condiments, and whatever's been shoved to the back of the fridge since last winter.
- Donate duplicates. Three can openers? Five spatulas? A fondue set from 2017? Let them go.
- Sell or recycle specialty gadgets. If you haven't used it in the past year, it won't get used at the new place either.
Getting rid of even 20% of your kitchen items noticeably reduces how many containers you need. That's less packing, less hauling, and faster unpacking on the other end.
What supplies do you need for packing a kitchen?
You need sturdy containers, plain packing paper, bubble wrap for fragile items, and a marker for labeling. Gather everything before you start so you do not lose momentum.
Gather everything before you start. Running to the store mid-pack kills your momentum.
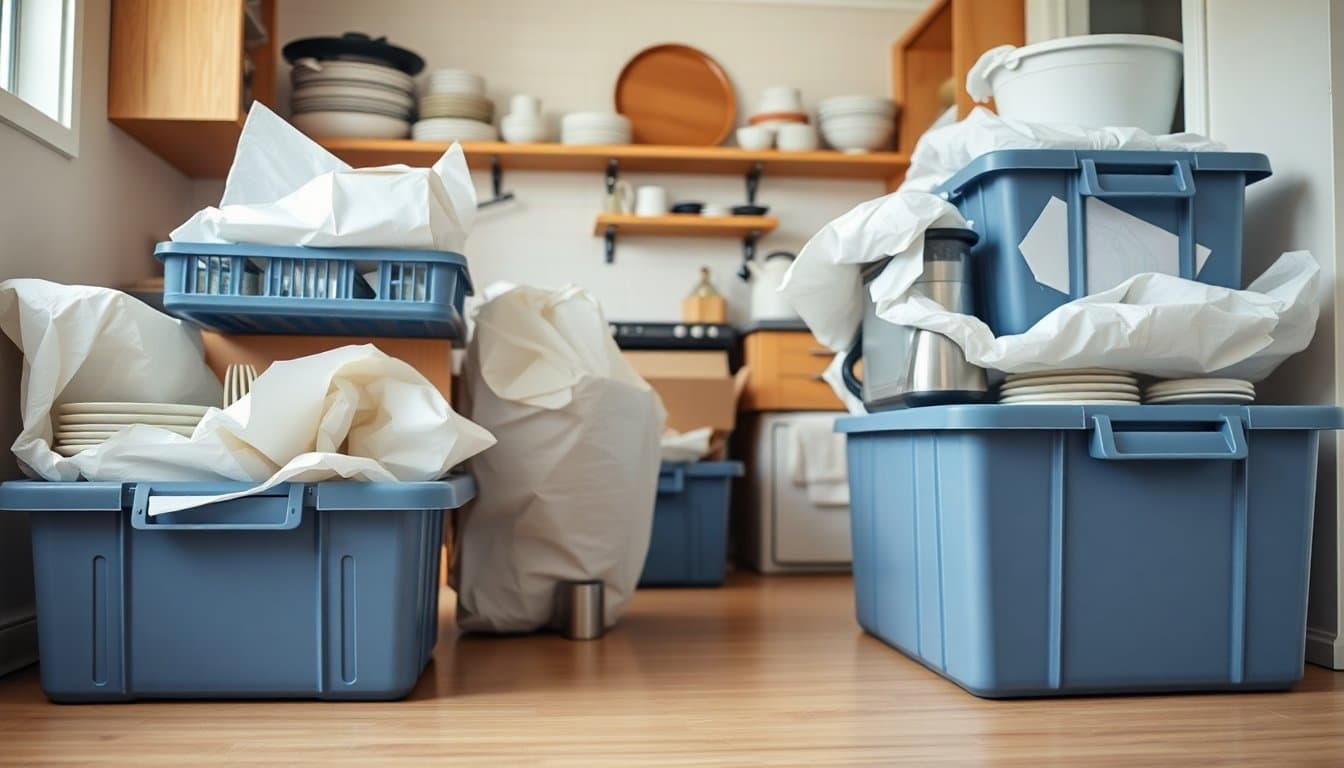
- Sturdy containers. Plastic moving totes are ideal for kitchens because they don't buckle under weight and they block moisture. Cardboard sags with heavy dishes and offers zero water resistance if something spills. FlashTotes delivers totes to your door already assembled, no tape required.
- Packing paper or newsprint. Use plain packing paper, not newspaper. Newspaper ink transfers onto white dishes and it's annoying.
- Bubble wrap. Save this for your most fragile stuff: wine glasses, crystal, thin-walled ceramics.
- A marker. For labeling. Even if you're using totes, label every single one.
How do you pack dishes and glassware without breakage?
Wrap each piece individually in packing paper, stand plates on their edges like vinyl records, and place glasses upside down with paper stuffed inside them.
Fragile items eat the most time, so tackle them first when your patience is fresh.
Plates and bowls: Lay crumpled packing paper at the bottom of your tote. Wrap each plate individually. For fine china, add bubble wrap. Then stand plates vertically on their edges, the way vinyl records sit in a crate. Plates are stronger on edge than stacked flat. Fill gaps with crumpled paper so nothing shifts during the drive.
Glasses and mugs: Stuff the inside of each glass with crumpled paper first. Wrap the outside, tucking paper ends into the opening. Place glasses upside down and don't stack them more than two high. Rigid plastic totes prevent the crushing that causes most glassware breakage in flimsy cardboard.
Knives: Use blade guards if you have them. If not, fold cardboard around each blade and tape it shut. Bundle kitchen knives together and label the bundle clearly. Nobody wants to reach in blind during unpacking.
What's the best way to handle small appliances?
Remove detachable parts, wrap each appliance in a towel, secure cords with rubber bands, and place heavier appliances at the bottom of the container.
Blenders, toasters, stand mixers. Heavy, awkward, and full of detachable parts that love to rattle around.
Use the original box if you kept it. Manufacturer packaging is purpose-built for the item. If you didn't keep it (most people don't), wrap the appliance in a towel and nestle it in a tote.
Remove detachable parts. Take the blade assembly out of your blender, remove the bowl from your stand mixer. Pack these separately so they don't chip other items.
Wrap cords with rubber bands and tape them to the appliance body. Loose cords snag on everything.
Place heavier appliances at the bottom of the tote. Lighter items go on top. This seems obvious, but it gets ignored constantly on packing day.
How should you deal with pantry items?
Use up perishables in the two weeks before moving, seal open packages in zip-lock bags, and pack cans and jars upright in small, manageable containers.
Be ruthless here. Food is the most over-packed category in moving.
Use up perishables in the two weeks before your move. Plan meals around what's already in the fridge and pantry. Make it a challenge.
Seal open packages. Transfer opened flour, sugar, rice, and cereal into zip-lock bags. A bag of flour that opens during transit is a disaster you don't want to clean up in a moving truck.
Pack cans and jars upright in smaller totes. A large tote filled with canned goods weighs a shocking amount. Keep those containers small and manageable.
And don't move anything that's leaked, crystallized, or looks questionable. Moving day isn't the time to give expired sriracha a second chance.
How should you label kitchen containers?
Label every container on at least two sides with the room name and a specific description of contents, and number each one with a master list on your phone.
Bad labeling turns unpacking into a scavenger hunt. Good labeling makes it almost pleasant.
Label every tote on at least two sides so you can read it no matter how it's stacked. Be specific. "Kitchen" isn't helpful. "Kitchen, plates and bowls" is. Mark fragile containers with a bold "FRAGILE" and an arrow showing which side faces up.
Number your totes and keep a master list on your phone. When you need the coffee maker at 7 AM in a house full of packed containers, you'll pull up the list, find tote #14, and have coffee in ten minutes.
What does a realistic kitchen packing timeline look like?
Budget 4 to 6 hours for a fully stocked kitchen, spread across two weeks: declutter first, pack rarely used items a week out, and save daily essentials for moving morning.
Working solo, expect 4 to 6 hours for a fully stocked kitchen. Here's how to spread it out:
- 2 weeks before: Declutter. Use up perishable food. Order your totes.
- 1 week before: Pack rarely used items. Fine china, seasonal bakeware, specialty gadgets.
- 2 to 3 days before: Pack most dishes, glasses, and small appliances. Keep out one place setting per person.
- Moving morning: Pack the coffee maker (after one final brew), the last few essentials, and cleaning supplies.
Packing a kitchen is genuinely a lot of work. But doing it section by section, with good containers and clear labels, takes it from overwhelming to just... a long afternoon.
Keep Reading
Frequently Asked Questions
- How long does it take to pack a kitchen for moving?
- Packing a fully stocked kitchen takes 4 to 6 hours working solo. Spreading the work across two weeks makes it much more manageable.
- Should you pack plates flat or on their edge?
- Stand plates vertically on their edges, like vinyl records in a crate. Plates are structurally stronger on edge and less likely to crack from pressure stacking above them.
- What is the best container for packing kitchen items?
- Rigid plastic moving totes are ideal for kitchens because they do not buckle under the weight of dishes and appliances, and they are waterproof if something spills.
- How do you pack glasses so they don't break?
- Stuff the inside of each glass with crumpled packing paper, wrap the outside, and place glasses upside down in a rigid container. Do not stack them more than two high.